
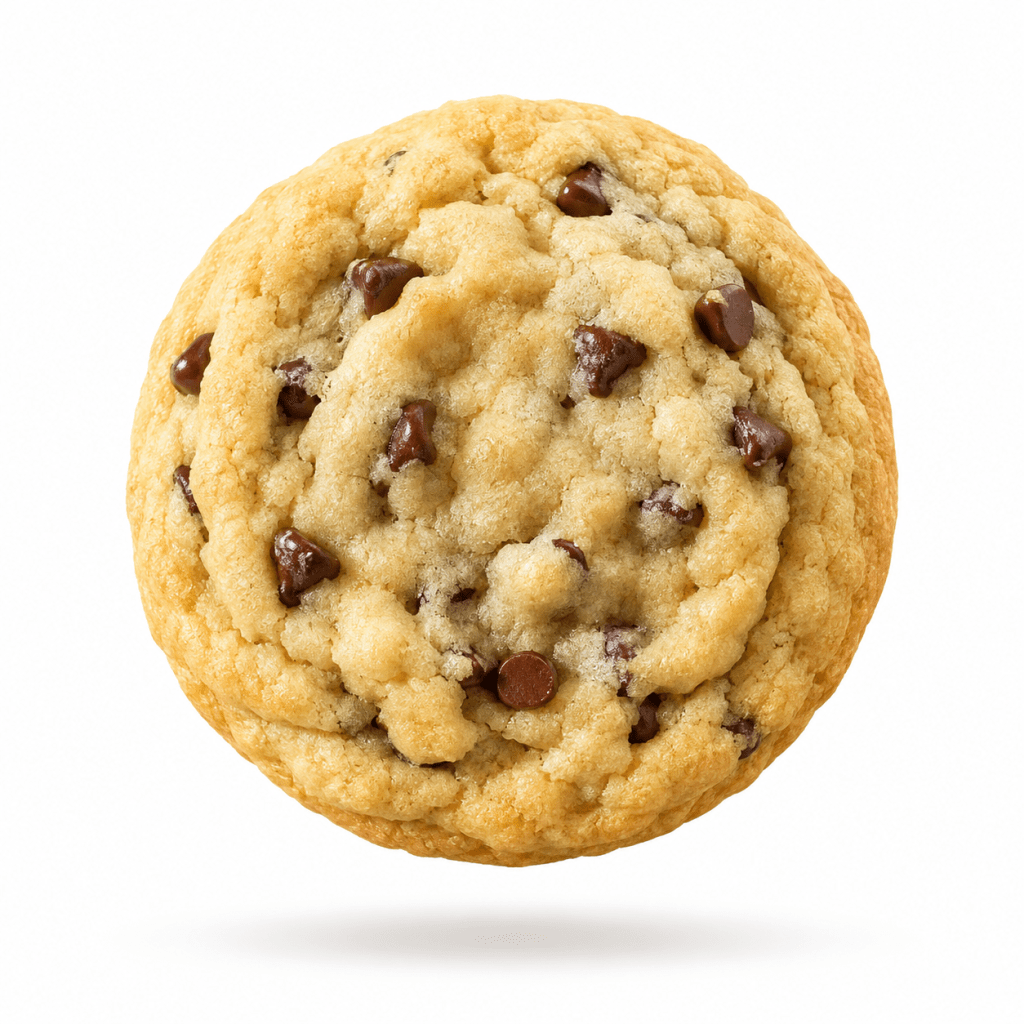
Chocolate chip cookies have always been one of my favorite things to bake. When I switched to gluten-free baking, I was determined to find a recipe that didn’t taste gluten-free. After lots of trial and error, a few ingredient swaps, and more batches than I can count, this has become the recipe I reach for every single time.
It all started with the classic Nestlé Toll House chocolate chip cookie recipe, but over the years I’ve made a few changes that have completely transformed it into my favorite gluten-free version. These cookies are thick, soft, fluffy, and perfectly gooey in the center. If you didn’t know they were gluten-free, I truly don’t think you’d ever guess.
🤎 Ingredients
• 2¼ cups King Arthur Gluten-Free Measure for Measure Flour
• 1 teaspoon baking soda
• 1 teaspoon salt
• 1 cup (2 sticks) grass-fed butter, softened
• ¾ cup granulated sugar
• ¾ cup packed brown sugar
• 1 teaspoon vanilla extract
• 2 large eggs
• 2 cups mini semi-sweet chocolate chips
🤎 My Favorite Ingredient Swaps
The biggest change I make is using King Arthur Gluten-Free Measure for Measure Flour instead of all-purpose flour. It bakes beautifully and gives these cookies such a soft, fluffy texture.
I also always use mini chocolate chips because they distribute more evenly throughout the dough, so every bite gets the perfect amount of chocolate.
One thing I never compromise on is the butter. I always reach for a good-quality grass-fed butter. The richer and more yellow the butter, the richer your cookies will taste.
If you really want to take these to the next level, brown your butter first. It gives the cookies an incredible caramel-like flavor that makes them taste even richer. Just make sure you let the browned butter cool until it returns to the consistency of softened room-temperature butter before making your dough. If it’s still melted, your cookies won’t bake the same.
✨ Before You Start
One of the biggest tips I can give you is to let all of your ingredients come to room temperature before you begin.That includes your butter and your eggs. Room-temperature ingredients blend together much more easily, creating a smoother dough and a softer, fluffier cookie.
🤎 Little Baking Tip I Swear By
One of my favorite kitchen hacks is making my own vanilla extract.
All you need is a bottle of vodka and a handful of vanilla beans. Slice the vanilla beans lengthwise, place them in a glass jar, and completely cover them with vodka. Let it sit in a cool, dark place for at least six months, giving it a gentle shake every week or so. The longer it sits, the richer the flavor becomes.
It’s incredibly easy, lasts forever, and makes homemade cookies feel just a little more special. It also makes such a thoughtful homemade gift around the holidays.
🍪 Directions
Preheat your oven to 375°F.
I like to start with the wet ingredients. Add the softened butter, granulated sugar, and brown sugar to your mixer and beat everything together until the mixture becomes light, fluffy, and airy. Don’t rush this step—it makes such a difference in the final texture.
Next, add the eggs one at a time, followed by the vanilla extract.
In a separate bowl, whisk together the King Arthur Gluten-Free Flour, baking soda, and salt until everything is evenly combined.
With the mixer on low speed, slowly add the dry ingredients to the wet ingredients until everything is just combined. Be careful not to overmix.
Fold in the mini chocolate chips.
Using an ice cream scoop or cookie scoop, portion the dough into evenly sized balls and place them on a parchment paper or foil-lined baking sheet.
Cover the tray and place it in the freezer for about 30 minutes, or until the cookie dough balls are firm. I never skip this step because it helps the cookies keep their thick, bakery-style shape while baking.
Once the cookie dough balls are frozen, transfer them to a large Ziploc bag and keep them in the freezer. That’s exactly what I do, so whenever we have a sweet tooth, I can bake just the number of cookies I want instead of making an entire batch. They bake beautifully straight from the freezer, so warm cookies are always just a few minutes away.
Bake directly from frozen at 375°F for 11 minutes.
When you first pull them out of the oven, they’ll still feel very soft. Since they’re gluten-free, it’s easy to think they need another minute or two, but trust me—they’re done. As they cool, they’ll continue to set while staying perfectly soft and fluffy inside.
If you love an extra gooey center, pull them out about one minute earlier, but I wouldn’t go any earlier than that.
As soon as they come out of the oven, I like to slide the parchment paper (or foil) with the cookies directly onto my cool countertop. That stops the baking process immediately so they don’t continue cooking on the hot baking sheet.
Let them cool completely before moving them. The result is a cookie that’s thick, soft, fluffy, and perfectly gooey in the center—everything I want in a chocolate chip cookie.
🤎 I’d Love to Hear From You
These have become my go-to chocolate chip cookies, whether I’m baking for family, friends, or just because we’re craving something sweet. They’re simple, dependable, and honestly the best gluten-free chocolate chip cookies I’ve come across.
If you make them, I’d love to hear what you think! Leave a comment below and let me know how they turned out.
🛒 Shop My Baking Favorites
I’ve linked all of my favorite baking essentials in my Amazon storefront if you’d like to recreate this recipe using the same products I do.
• King Arthur Gluten-Free Measure for Measure Flour
• Grass-Fed Butter
• Mini Semi-Sweet Chocolate Chips
• Pure Vanilla Extract
• Vanilla Beans (for Homemade Vanilla Extract)
• Vodka (for Homemade Vanilla Extract)
• Parchment Paper
• Glass Jars
• Cooling Rack
Whether you’re just starting your gluten-free baking journey or simply looking for a few new kitchen favorites, I hope this recipe becomes one you make again and again.
Happy baking! 🤎🍪
 demiangstadt.com
Leave a comment